How to Fix iPhone 17 Camera Lag When Switching Lenses
Fix iPhone 17 camera lag when switching lenses with verified iOS, Macro Control, Camera Control, storage, heat, and hardware checks.
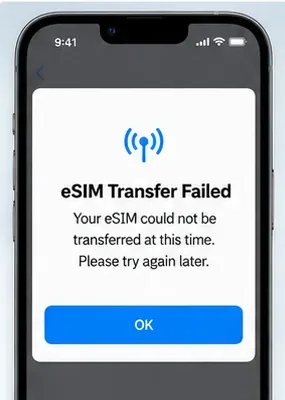
You finish setting up a new iPhone 17 Pro Max, choose to move your phone number from the old iPhone, and then the process stops with an “eSIM Transfer Failed” message. The frustrating part is that the old phone may still have service while the new one has no active cellular line, so it is not obvious whether the problem is the iPhone, the network connection, or the carrier.
The most important thing to know is that eSIM Quick Transfer is carrier-dependent. Apple provides the transfer workflow, but your carrier has to support it for your plan. Apple’s current documentation also requires both iPhones to be signed in to the same Apple Account, the old iPhone to be unlocked with its passcode, both devices to be nearby with Bluetooth turned on, and both phones to run iOS 18.4 or later. See Apple’s current eSIM setup instructions.
As of September 11, 2026, Apple lists iOS 26.6.2 as the latest iOS release for supported iPhones. That update fixes a problem downloading software updates over a cellular connection; Apple does not describe it as an eSIM-transfer-specific fix. Still, Apple recommends using the latest iOS version available to your devices when eSIM setup fails. See About iOS 26 Updates.
| Likely cause | What it means | What to try first |
|---|---|---|
| Carrier does not support eSIM Quick Transfer | Your carrier may support eSIM but require QR-code, app, link, or carrier-assisted activation instead | Check Apple’s carrier-support list or contact your carrier |
| Quick Transfer prerequisites are not met | The phones are not on the same Apple Account, the old phone is locked, Bluetooth is off, or the devices are not close enough | Correct the prerequisites and retry |
| Outdated iOS | One of the phones does not meet Apple’s current Quick Transfer requirement | Update both phones to the latest compatible iOS |
| Network or activation interruption | The new iPhone cannot complete the carrier activation request | Use a stable Wi-Fi connection, toggle Airplane Mode, then retry |
| Carrier account or plan restriction | The line may need verification, a PIN, enterprise approval, or a fresh eSIM profile | Contact the carrier with the phone number, account PIN, IMEI, and EID |
| Regional model limitation | eSIM availability differs by country and model | Verify that your specific iPhone model and market support eSIM |
Keep both iPhones powered on and physically close together. On both devices, confirm that Bluetooth is enabled. Make sure the old iPhone is unlocked with its device passcode and that both phones are signed in to the same Apple Account.
Connect the new iPhone to Wi-Fi or a hotspot. Apple says eSIM setup requires an internet connection, although some eSIM-only iPhone models in certain regions can activate without Wi-Fi.
Then check software versions on both phones under Settings > General > Software Update. Apple’s current Quick Transfer instructions require iOS 18.4 or later on both devices. If either phone can install a newer compatible version, update it before trying again.
Do not erase the old phone or remove its eSIM yet. Apple states that the old SIM or eSIM is deactivated when the cellular plan successfully activates on the new iPhone. Keeping the old phone intact gives you the best chance of retrying the transfer without asking the carrier to rebuild the line.
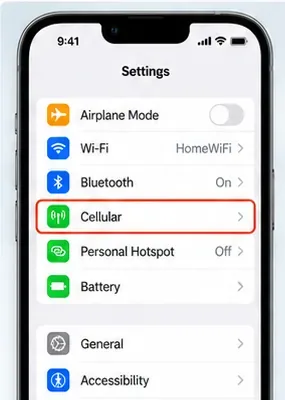
If setup already finished, you do not need to erase the iPhone 17 Pro Max just to retry. On the new iPhone, open Settings > Cellular, then tap Set Up Cellular or Add eSIM. Choose a plan shown from another iPhone, or tap Transfer From Nearby iPhone if no phone number is listed.
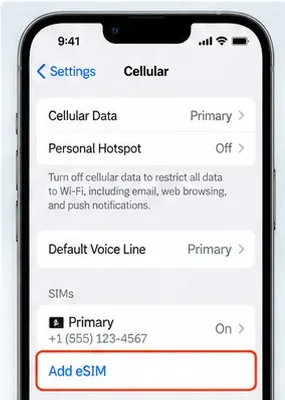
Watch the old iPhone for a confirmation prompt. Apple says you may need to tap Transfer, or enter a verification code displayed by the new iPhone. Keep both devices nearby while the carrier activates the plan.
If the new iPhone shows a banner reading Finish Setting Up Your Carrier’s Cellular Plan, tap it. Apple notes that this can redirect you to the carrier’s webpage to complete the eSIM transfer.
After each attempt, open Control Center and check whether the carrier name appears. If the line is listed under Settings > Cellular but does not connect, turn that line off and back on. Apple also recommends toggling Airplane Mode on and off and restarting the iPhone when eSIM setup is not completing.
An eSIM-capable carrier is not automatically a Quick Transfer carrier. Apple maintains a country-by-country list that separates carriers supporting eSIM Carrier Activation, eSIM Quick Transfer, and other eSIM activation methods. Check the Apple carrier eSIM support list.
If your carrier appears only under other eSIM activation methods, repeated Nearby iPhone transfers may never succeed. Use the activation method the carrier supports instead.
This distinction is especially important with prepaid, business, enterprise, or corporate lines. Apple advises users with enterprise or corporate mobile plans to check with the company or carrier because plan-level support can differ even when the carrier generally supports eSIM.
If Quick Transfer continues to fail, return to Settings > Cellular > Add eSIM and use one of the methods your carrier supports.
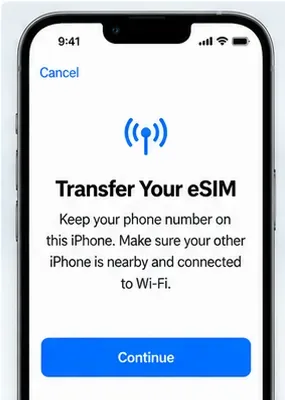
If the carrier gives you a QR code, scan it with the Camera app. When the Cellular Plan Detected notification appears, follow the prompts. On iOS 17.4 or later, Apple also allows a compatible QR code received in the default email app or browser to be pressed and held, then added as an eSIM.
Some carriers can assign the eSIM directly to the new iPhone. If you receive a Carrier Cellular Plan Ready to Be Installed notification, open it and follow the activation steps.
Apple documents carrier-provided activation links on iOS 17.4 or later, and some carriers provide their own app for eSIM setup or number transfer. Use the official carrier app or link rather than a QR code copied from an unofficial source.
If the carrier supplies activation information manually, go to Settings > Cellular > Add eSIM and choose the manual-entry option when available. Enter only the information provided by the carrier.
Apple’s eSIM troubleshooting guide recommends a short sequence before escalating:
In Settings > General > About, scroll to the eSIM section. Apple says the carrier name and carrier settings version appear there; tapping the version can reveal an available update.
You can also use the latest Apple Support app on iPhones running iOS 18 or later to run additional diagnostics. Apple documents this option on its eSIM troubleshooting page.
Contact the carrier when Quick Transfer is supported but still fails after the prerequisites, restart, and carrier-settings check—or when the carrier does not support Quick Transfer at all.
Apple recommends having the following information ready:
You can find IMEI and EID under Settings > General > About. These identifiers let the carrier confirm whether the eSIM profile has been assigned to the correct device.
Ask the carrier a specific question: Does this exact plan support eSIM Quick Transfer to my iPhone 17 Pro Max, or do you need to issue a new eSIM through Carrier Activation, QR code, or your app? That avoids repeating generic troubleshooting when the real issue is an activation method or account restriction.
Do not assume every iPhone 17 Pro Max sold worldwide has the same eSIM behavior. Apple’s current eSIM documentation states that in mainland China, only iPhone 17e and iPhone Air support eSIM. That means an iPhone 17 Pro Max intended for mainland China is not a normal eSIM Quick Transfer target.
Apple separately notes that eSIM support in Hong Kong and Macao differs by model. If the phone was purchased for one of these markets—or imported from another region—check Apple’s regional model guidance and your carrier before troubleshooting the transfer as if it were a software failure.
Do not stop at “the error message disappeared.” Confirm that the new iPhone is genuinely registered on the carrier network.
If calls work but data does not, or the carrier name never appears, the transfer is not fully complete. Recheck the cellular line and carrier settings, then contact the carrier with the IMEI and EID. At that point, the remaining problem is more likely to require carrier-side activation than another round of iPhone-to-iPhone transfer attempts.
Fix iPhone 17 camera lag when switching lenses with verified iOS, Macro Control, Camera Control, storage, heat, and hardware checks.
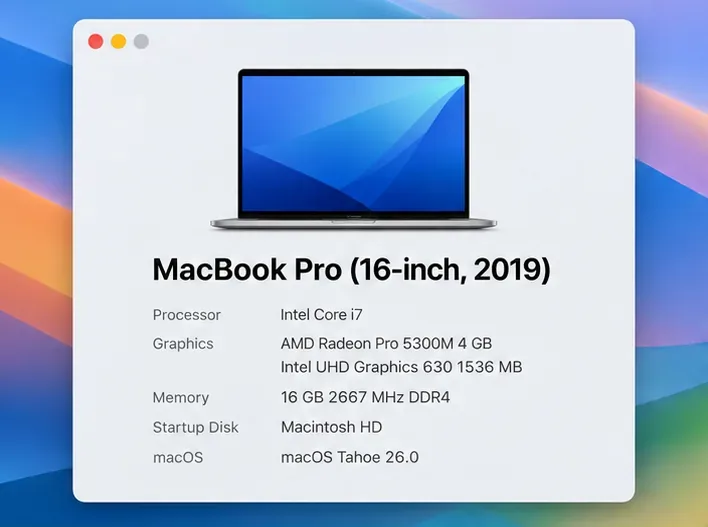
Apple lists no Intel Macs for macOS 27. Learn how to identify your Mac, check the latest compatible release, and prepare apps and backups before upgrading.
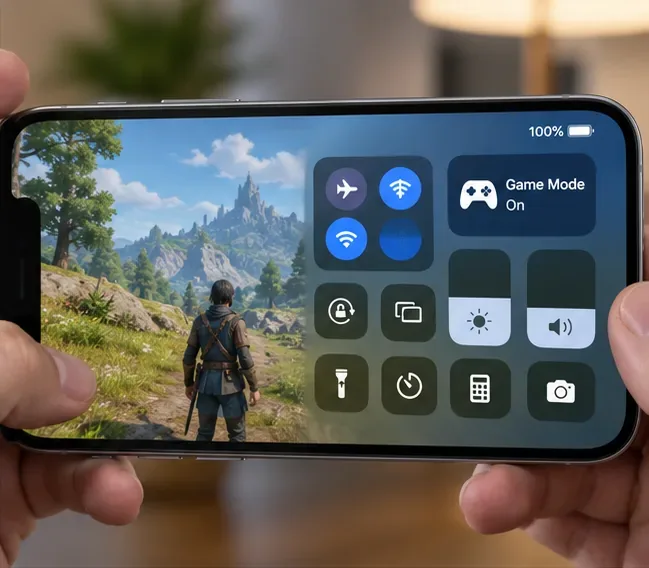
Fix iPhone 17 game stutter and frame drops by checking Low Power Mode, Game Mode, heat, updates, storage, restarts, and last-resort settings.
Fix eSIM Transfer Failed on iPhone 17 Pro Max by checking Quick Transfer requirements, Wi-Fi and Bluetooth, iOS updates, carrier support, and QR-code fallback options.
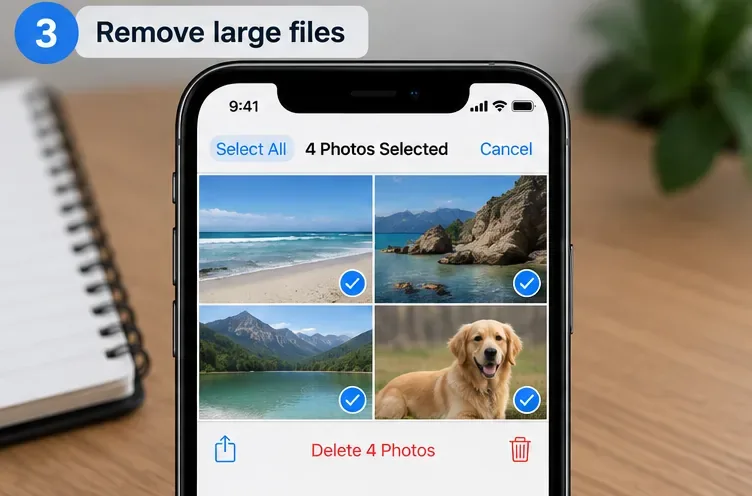
Fix an iPhone 17 “Storage Almost Full” warning after an iOS update by checking real usage, allowing indexing to finish, freeing safe space, and updating iOS.
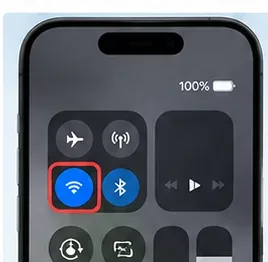
Fix repeated Wi‑Fi 7 disconnects on iPhone 17 Pro with Apple-supported steps for iOS, 6 GHz mode, router settings, VPNs, Private Wi‑Fi Address, and network reset.
Move contacts, photos, messages, apps, and WhatsApp chats from Android to iPhone 17 using the official Move to iOS method, with setup requirements and recovery tips.
Fix an iPhone 17 microphone that stops working on calls with Apple-verified tests for blocked mics, audio routing, permissions, iOS, and service.
Fix Apple Intelligence on iPhone 17 with verified Apple steps for iOS updates, model downloads, storage, language and region settings, Screen Time, Siri, and restart checks.
iPhone 17 battery draining fast after an iOS update? Diagnose post-update activity, apps, display, 5G, power modes, and battery health safely.